![]()
Channel Selection Worksheet
I. Channel & Alpha Channel Selection
A. Creating a Selection from a Channel
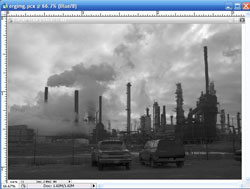
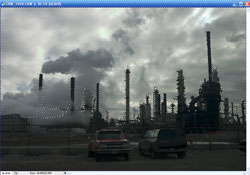
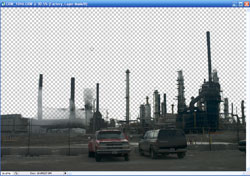
1) Open an RGB image.
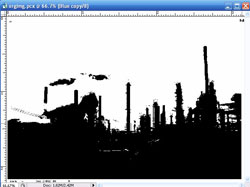
2) Go to the Channels Layer and locate a specific (R)ed, (G)reen, or (B)lue Channel that distinguishes itself with the most contrast between the object to be selected and its background.
3) Duplicate the desired Channel and name it accordingly (eg. Sky).* The channel becomes an alpha channel, also known as a saved selection.
4) Go to Image>Adjustmnet>Brightness/Contrast.* Notice the increased depth of tonal range in the sky, rocks, and ocean.
 |
 |
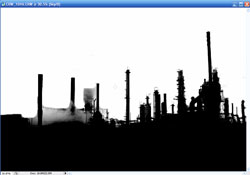
5) Adjust the Brightness/Contrast to the point of separation between the subject and its background. Obtain best edge detail possible and click OK.* This is the only time I recommend using Brightness/Contrast.
 |
 |
6) Next, select the Brush Tool
and paint on the alpha channel to refine the selective areas between white and black.
7) Click back to the RGB Channel and drag the desired alpha channel to the load selection iconin the Channels palette.
* This loads the newly created selection from the alpha channel.
8) Double-click the Background Layer and Name accordingly.* The Background changes from Locked to a New Layer that can be altered.
9) With the selection still active, go to Select>Menu>Inverse Selection.
10) Add a Layer Mask by clickingon the Layers palette.
* White reveals and black conceals info on Layer Masks and Alpha Channels.
© 2007, Matthew Roderick