![]()
Light Rays Worksheet
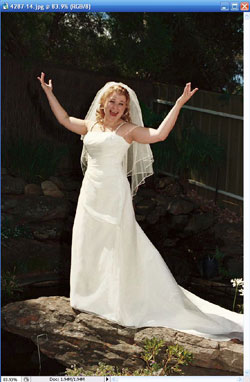
I. Creating Light Rays for Special Effect
A. Design from Image Information
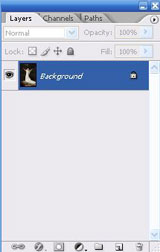
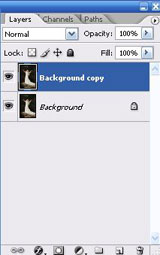
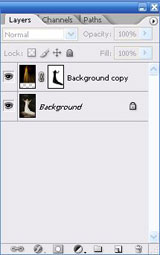
1) Duplicate the Background layer by dragging the layer to the copy
.
2) Go to Image>Adjust>Levels and drag the middle slider all the way to the right in order to pick up th light information from the image. Click OK.
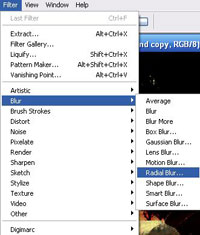
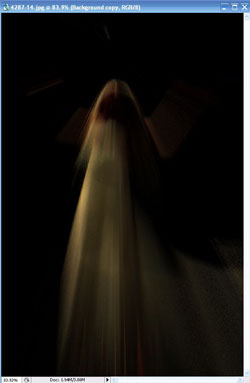
3) Go to Filter>Blur>Radial Blur, choose the Zoom Blur Method with an Amount at 100%, and Good Quality. Click OK.
4) Apply Radial Blur again to smooth any noise or rough transitions.
 |
 |
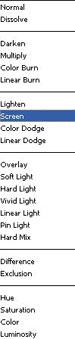
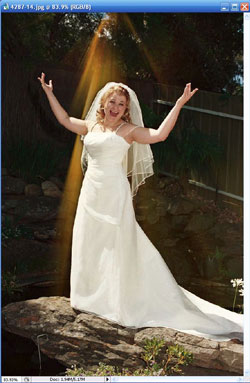
5) Change the Blending Mode to Screen. Go to Image>Adjust>Levels to enhance the contrast of the light rays.* Move the white slider back to the information on the histogram.
 |
 |
 |
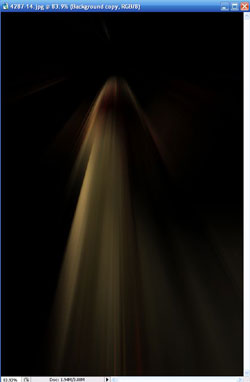
6) Go to Image>Adjust>Hue/Saturation to enhance the color spectrum of the light rays.* Feel free to overdue the colors, we can reduce the effect with Opacity.
 |
 |
7) Position the light rays by using the Move Toolto arrange layer.
8) Apply a Layer Maskto hide areas of light rays falling over the subject. Paint on the mask using the Brush Tool
.
* Paint with white to reveal the layer and black to conceal the effects.
 |
 |
9) Adjust Opacity of layer to suit subject and surrounding environment.
 |
 |
© 2007,
Matthew Roderick