![]()
Layer Sandwich Worksheet
I. Creating a Layer Sandwich
A. Multiple Image Collage
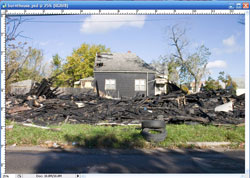
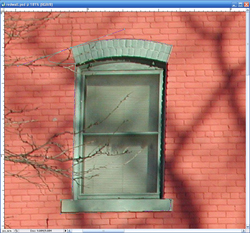
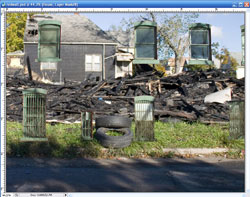
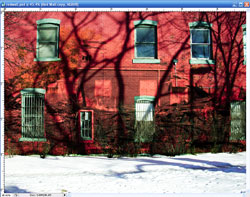
1) Bring together two separate Document Layers to Create a Collage.
 |
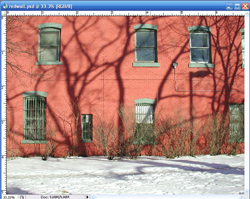 |
2) Name Layers and preview single Layer to begin Path work in Step 3.
3) Create a New Path and assemble points around the selection using the Pen Tool. Adjust anchor points using the Convert Point tool.
* Drag the anchor points to enable custom fit around curves and edges. To move a single anchor point, hold the Ctrl/Cmd and begin dragging.
 |
 |
 |
4) Choose to Make Selection from the current path by clicking on the Path options. Use a Feather Radius anywhere from 0-2.* Complete Path before making into a selection. Low feathers for precise work.
 |
 |
 |
5) Inverse the selection, and create a Layer Mask on second image layer.* Using a Gaussian Blur on the Layer Mask is great for controlled feathering.
6) Paint on the Layer Mask using black/white with the Brush Toolto introduce other important areas into the collage.
|
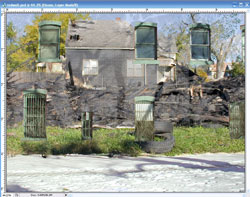 |
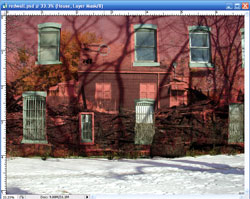
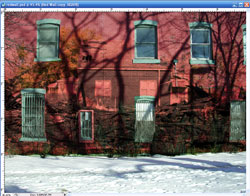
7) Use Layer Blend Modes to enhance underlying layer translation. In this case, Multiply or Darken works best to enhance appearance of texture/detail.
8) Create Adjustment Layer (Curves/Levels, etc.) to increase presence of each subject. Limit the changes to a specific layer by grouping layers.* The quick key for Grouping an Adjustment Layer is Ctrl/Cmd + Alt/opt + G.
9) Duplicate the bottom layer for its texture and move the layer to the top.* This sandwich method refers to the duplication of info from the same layer.
10) Change the Blending Mode of the specific layer to enhance the presence of texture and shadow (i.e. Overlay). Adjust Opacity accordingly.
11) Add a Layer Mask to the final texture layer. Use a previous mask selection that can be appropriated from another layer.* Load previous selection by Ctrl/Cmd click with the mouse on mask thumbnail.

© 2007, Matthew Roderick