Poster Edges Worksheet
I. Creating Poster Edges
A. Photo Borders with Artistic Filters
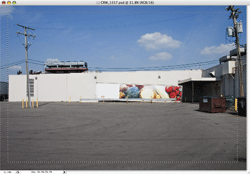
1) Choose the Rectangular Marquee
and create a selection to include most of your image. Be sure to leave enough room for border creation.
 |
 |
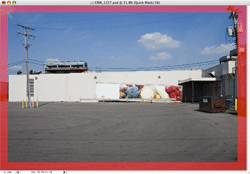
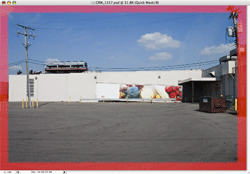
2) With the active selection, enter Quick Mask Mode. The selection now changes into a Quick Mask which can be modified by more than a brush.* Areas colored by a mask are not part of the active selection.
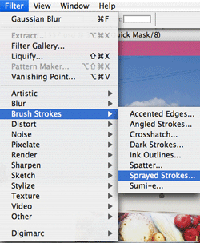
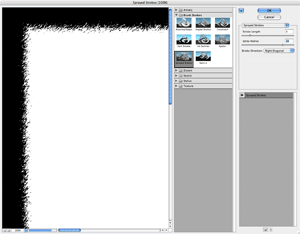
3) Go to Filter>Brush Strokes>Sprayed Strokes to introduce an edge effect. Adjust the Length, Radius, and Direction. Choose OK.* Investigate other Filters including Spatter and Film Grain.
 |
 |
4) Exit out of the Quick Mask and back into Standard Mode. This will reactivate the selection and dancing ants on your image.
 |
 |
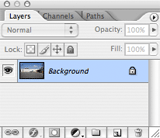
5) Now, double-click the Background to change it into an New Layer. Assign a proper name to this layer.
* CS3 users can disregard this step.
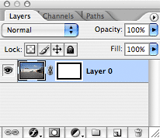
6) Add a Layer Mask![]() to the newly created layer. This hides the external border area of the photograph while revealing a subtle artistic poster edge.
to the newly created layer. This hides the external border area of the photograph while revealing a subtle artistic poster edge.
|
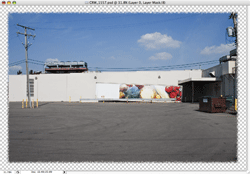 |
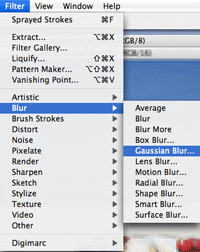
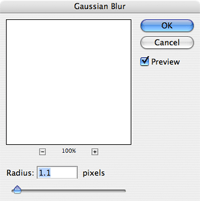
7) Highlight the Layer Mask and use the Filter>Blur>Gaussian Blur to refine the presence and believability of poster edges.
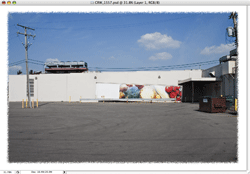
8) The final image can have quite interesting results. Try filling with a layer behind the image using different colors for a variety of effects.

|
 |
© 2007, Matthew Roderick


